3 Ways How to Install OpenClaw (+ Bonus)
Curl, npm, Git, or Docker, here's how to install OpenClaw the right way, depending on your setup.
OpenClaw has taken over the internet and the AI community with a bang. I like to describe OpenClaw as an orchestrator of LLMs, as it allows you to store your memory and memory context locally and connect to one or more LLMs, such as Anthropic's Claude, Google Gemini, or OpenAI ChatGPT.
You may have heard about OpenClaw, but how do you get started installing OpenClaw? Glad you asked!
This article will explain the 3 main ways to install OpenClaw, highlighting the pros and cons of each. Let's jump in.
Method 1: Curl Command (Fastest Path)
Who it's for: Anyone spinning up a fresh VPS or locally on a PC, Linux, Windows, or Mac who wants OpenClaw running in minutes.
The easiest way to get up and running with OpenClaw is to execute the installer directly from the OpenClaw quickstart
Install OpenClaw for Linux, Mac, or WSL2
# Works everywhere. Installs everything. You're welcome. 🦞
curl -fsSL https://openclaw.ai/install.sh | bash
Install OpenClaw for Windows (PowerShell)
iwr -useb https://openclaw.ai/install.ps1 | iex- What it does under the hood (bootstraps Node, runs npm install globally)
- Executes the initial configuration of OpenClaw
- Pro: Zero decisions, fastest time-to-running
- Con: Less version control, harder to pin specific releases
This command allows you to bootstrap OpenClaw in a couple of minutes, which is great. If you are interested in speed, then this is for you. If you want more control over what is installed, let's take a look at the additional methods below.
Method 2: npm Global Install (Developer's Choice)
Who it's for: Devs with an existing Node environment who want clean package management.
Installing via npm is a very standard way to install most Linux programs and adds more flexibility in what version you want to install and controls updating.
Install OpenClaw using npm
npm install -g openclaw@latest
openclaw onboard --install-daemon- When to prefer over curl (existing Node 22+ setup, CI/CD pipelines)
- Version pinning:
npm install -g [email protected] - Updating:
npm update -g openclaw - Verification steps
- Pro: Fits existing Node workflows, easy updates
- Con: Requires Node 22+ already configured
Installing OpenClaw with npm is a great workflow but adds more complexity if you are not used to using npm.
Stay Updated
Get actionable AI & tech insights delivered every Friday. No fluff, just value.
Subscribe to The Weekly Byte →Method 3: Git Clone (Power User Path, preferred by OpenClaw itself)
Who it's for: Developers who want full source access, custom patches, or want to track bleeding-edge changes
git clone https://github.com/openclaw/openclaw.git
cd openclaw
pnpm install
pnpm ui:build
pnpm build- Why would you choose source over package (contributing, debugging, custom agents, OpenClaw understands the code better)
- How to stay updated:
git pull origin main+ rebuild - Running from source vs linking globally
- Pro: Full control, latest commits, can fork and customize
- Con: More maintenance overhead, no automatic updates
Installing OpenClaw via Git is a power-user move. Not because it is a bit more complex, but actually, OpenClaw itself prefers to see all the code that actually runs OpenClaw. Then, if you want to change how OpenClaw runs or handles Agents, you or OpenClaw can update the code directly.
I've actually modified OpenClaw to adjust to my use case based on this install method.
Bonus: Docker (Production-Grade Deployment)
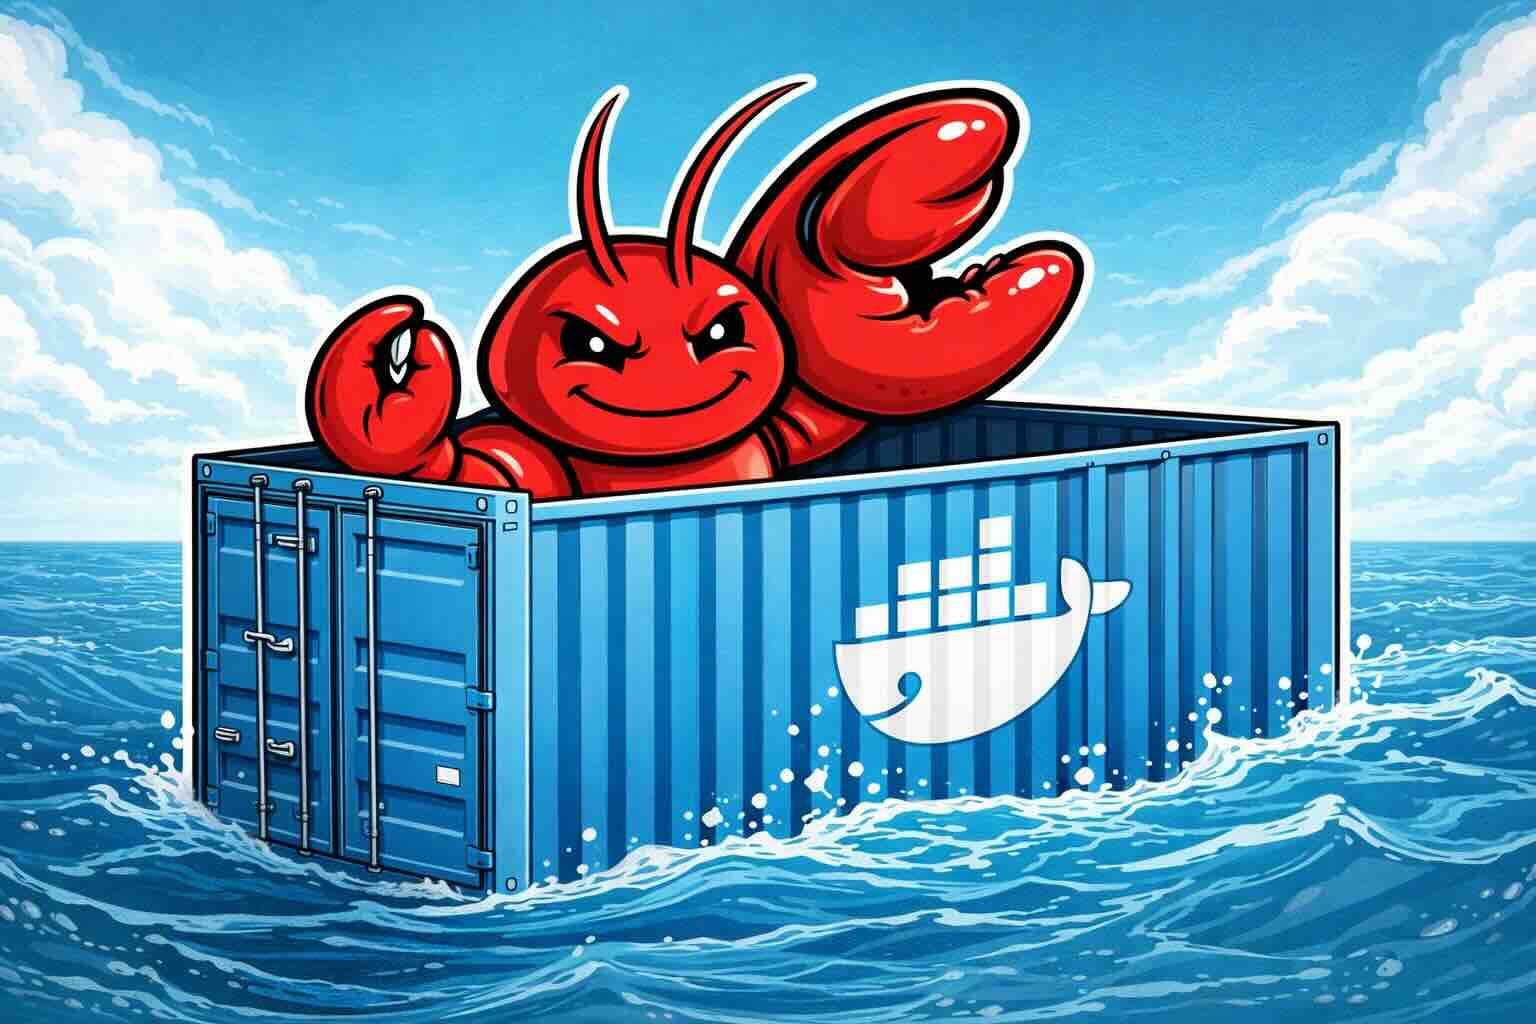
Who it's for: Teams running OpenClaw in production who need isolation, portability, and easy rollbacks
As many of you know, as a former Docker Captain, I obviously prefer Docker. Docker be default, fixes a lot of the security issues that people are concerned about with OpenClaw. For example, Docker sandboxes the application from the host, which isolates OpenClaw more than the other methods.
# make sure you have installed docker and bash v4+
git clone https://github.com/ozbillwang/openclaw-in-docker.git
cd openclaw-in-docker
export OPENCLAW_IMAGE="alpine/openclaw:latest"
./docker-setup.sh- Why Docker makes sense for always-on agent deployments (my production setup)
- Config via
openclaw.env— keep secrets out of the image - Auto-restart with
restart: unless-stopped - Updating:
docker compose pull && docker compose up -d - Pro: Isolated, reproducible, clean rollback path
- Con: Docker overhead, slightly more config upfront
Docker requires a bit more know-how and some preparation to run on your server. But long-term Docker will prepare you to run OpenClaw in production.
Quick Comparison Table
| Method | Best For | Node Required | Effort |
|---|---|---|---|
| Curl | Fresh VPS/Local PC, fast setup | Auto-installed | ⭐ |
| npm | Dev machines | Yes (22+) | ⭐⭐ |
| Git | Customization/hacking | Yes (22+) | ⭐⭐⭐ |
| Docker | Production/isolated | No | ⭐⭐ |
Post-Install Next Steps (CTA)
- First run:
openclaw --help - Next, run
openclaw configureto configure the OpenClaw installation - Config file:
~/.openclaw/openclaw.json - Connect your first channel (Telegram walkthrough coming next)
- Link to follow-up post: "How I Connected OpenClaw to Telegram in 10 Minutes"
Security is a big topic, and I actually covered it in my previous post OpenClaw Security Hardening Checklist.
My OpenClaw Installation thoughts
Use curl for getting started, Git for customization, and Docker for production in this order. This is a great baseline to also get familiar and up and running quickly but then slowly migrate to a production setup.
I actually use OpenClaw with the Git method but I sandox my agents into Docker containers which I will cover in a later article.
Follow me
If you liked this article, Follow Me on Twitter to stay updated!