How to Automate Docker Builds and Auto Deploy

The more time I spend with Docker the more ideas and problems I can solve with Docker Tutum.
This article describes how to create an Automated Docker Build that GitHub -> Docker Hub -> Tutum. I've come across several articles that describe one portion of this process, but I've yet to find something that covers the entire end-to-end Docker deployment. So why not type it out?
Create a Hello World Fork
Let's start by forking my GitHub Repo from Docker-Hello-World have forked the repo, from TutumCloud. I cleaned up the Repo a little, so it is easier to navigate and edit. Once you Forked the repo click on the Settings icon on the right side of your newly created Repo.
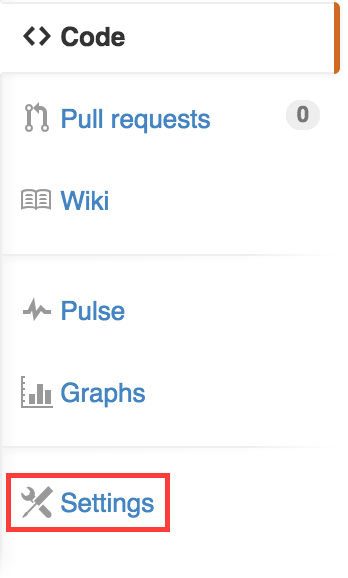
On the left side of the settings screen,, click Webhooks & Services. Then click add service and find the Docker service.

Create an Automated Build Docker Repository
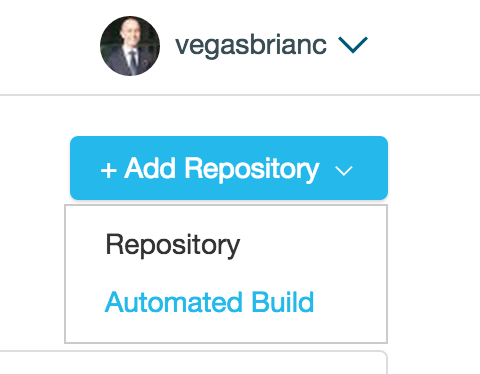
If you don't have a Docker Hub Account you should sign up for one now. Once logged into the Docker Hub, click the button below your username + Add Repository --> Automated Build
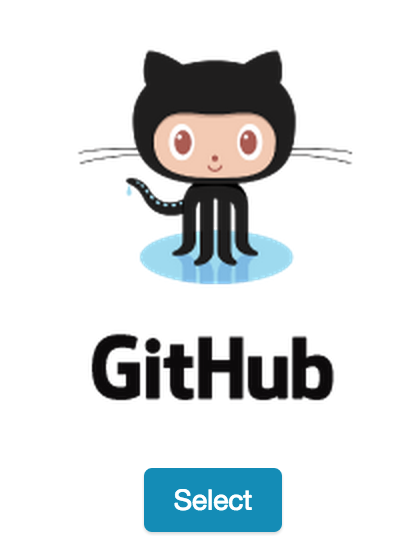
Select GitHub as the source.
Finally, select the new Repository you forked in GitHub. My example below shows my Docker-Hello-World Repo.

Keep the default values on the next page and click Create Repository. Your GitHub Repo is now linked to your Docker Hub. Any changes you perform inside your Forked Repo in GitHub will automatically generate a new build inside of Docker Hub.
Open your newly created Docker Repository and click on the Build Details tab. Here, you will see your build history. If you want to try a build, click the blue button on the right side. This will build a new docker image based on your fork inside of your GitHub account. Neat, huh?
Auto Deploy new Containers with Tutum
Now that we have GitHub and Docker linked, let's take it one step further. We will link Docker with Tutum. Tutum is an amazing PaaS (Platform as a Service) tool for Docker Containers that allows you to build, deploy, and manage Docker Containers across your cloud. Tutum is the provisioning portal for your Docker infrastructure. Your data and servers are still managed by you.
Sign-in to Tutum with your Docker account as we want to link directly to Docker. Once you've signed-in I advise you to follow the getting started guide by Tutum which walks you through setting up a Docker server with Tutum. Connecting to your own server infrastructure or third-party Clouds like Amazon or Digital Ocean is possible. Whatever you choose,
Once you built your first node (Virtual Machine that is connected to Tutum), we can now deploy the service we created with our GitHub Repo. Login to the Tutum Dashboard and click the Services Tab.
Inside the Services Tab, click the Create Service button.
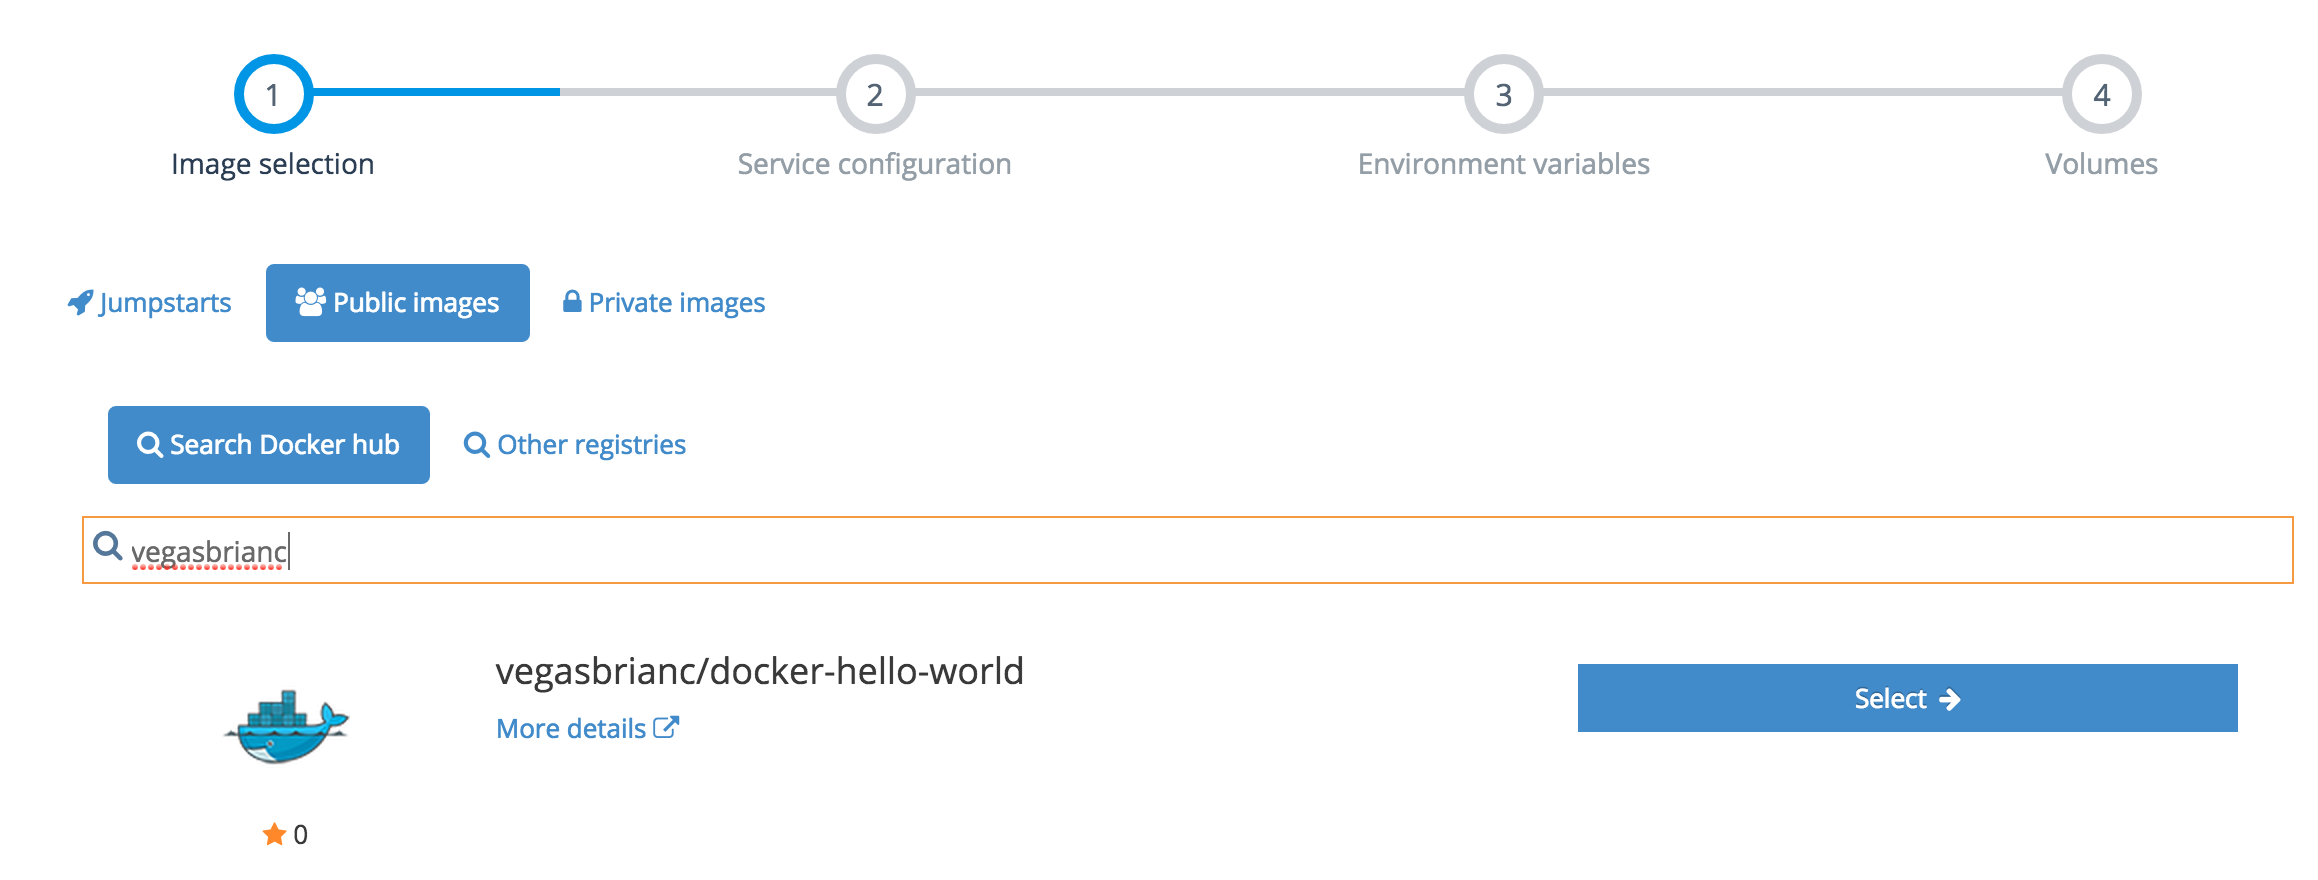
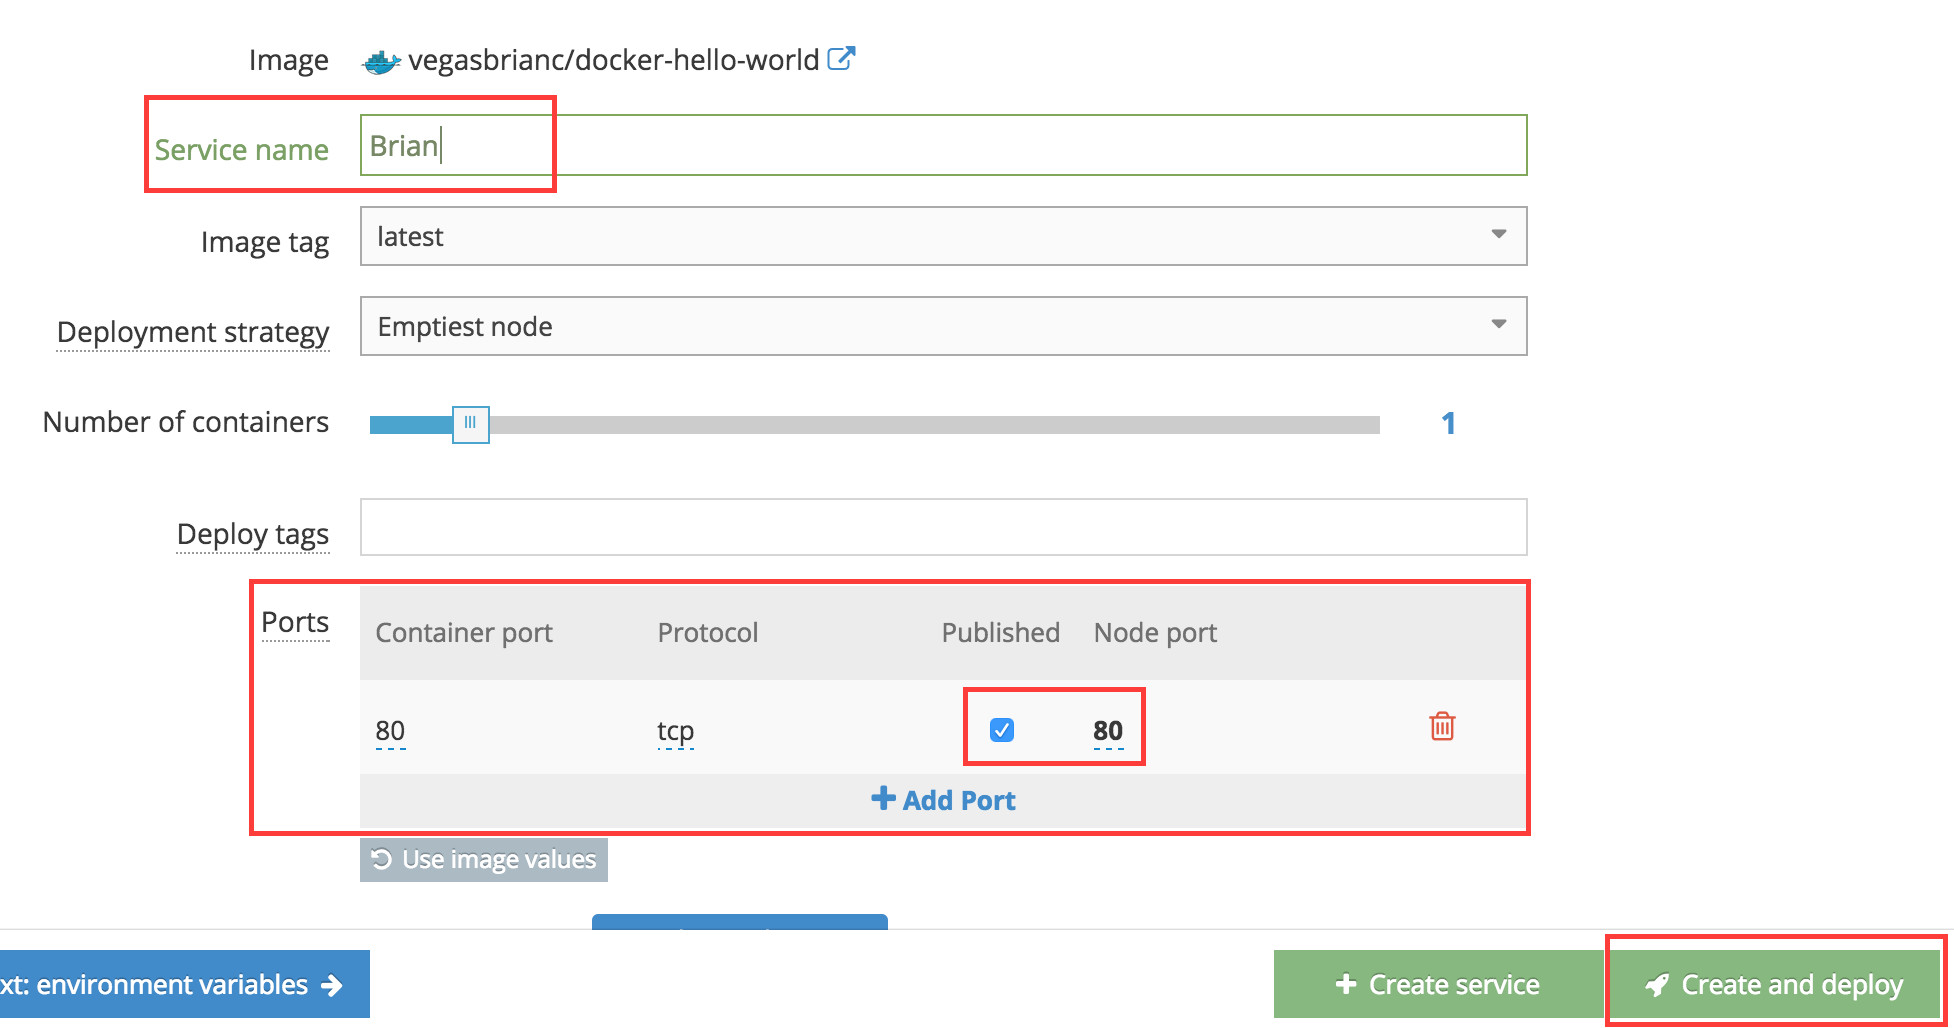
We will now search the Dockerhub for our Repo. In my example below, I typed my username in the search box: vegasbrianc which returns my repos available inside of the Dockerhub. Click the Select button on the Repo name you created. Docker-Hello-World is my example below.
- Name your container
- Click on the greyed-out Ports section
- Click Publish Port and change the port from Dynamic to port 80.
Click the Create & Deploy button.
After your service is up and running, open your service and open the Endpointstab. Here, you will see the Service Endpoints and a hyperlink. Open this hyperlink. You should see your docker-hello-world container up and running. Yeah, it's that easy!
Once you've verified that your container works, click on theWebhooks Tab. Follow the Tutum guide on how to set up Webhooks for your service. This will link Tutum to the Docker Hub allowing Tutum to monitor Docker Hub for updates. If Tutum sees a new build it will then redeploy your service with the new verison.
Conclusion
We've now built an Automated Docker build configuration that auto-deploys containers once a new version is found. Amazingly simple, isn't it? Can you think of the possabilites now with such a setup?
Make some changes in your Github repo. Change the Hello World text and save the index.php. This will kick off a new build inside the Docker Hub, which then notifies Tutum to redeploy a new version. It's seamless. However, we do have downtime between versions, which we will cover how to fix in future articles.
This setup will be the foundation for future articles, in which I'll explore continuous integration (CI), Continuous Deployment (CD), and A/B Testing with Docker and Tutum in greater depth.
Follow me
If you liked this article, Follow Me on Twitter to stay updated!


